How to LP on Cover
Minting a Position
This is the basis for hedging risk. The equivalent of a stop loss.
A cover position consists of you choosing token A which you want to hedge price risk for (which you currently hold in your wallet) and token B to receive in the event one of the trigger prices for your stop loss are met, this token B is also used as the unit to price token B.
- 1. Click ‘Connect Wallet’.
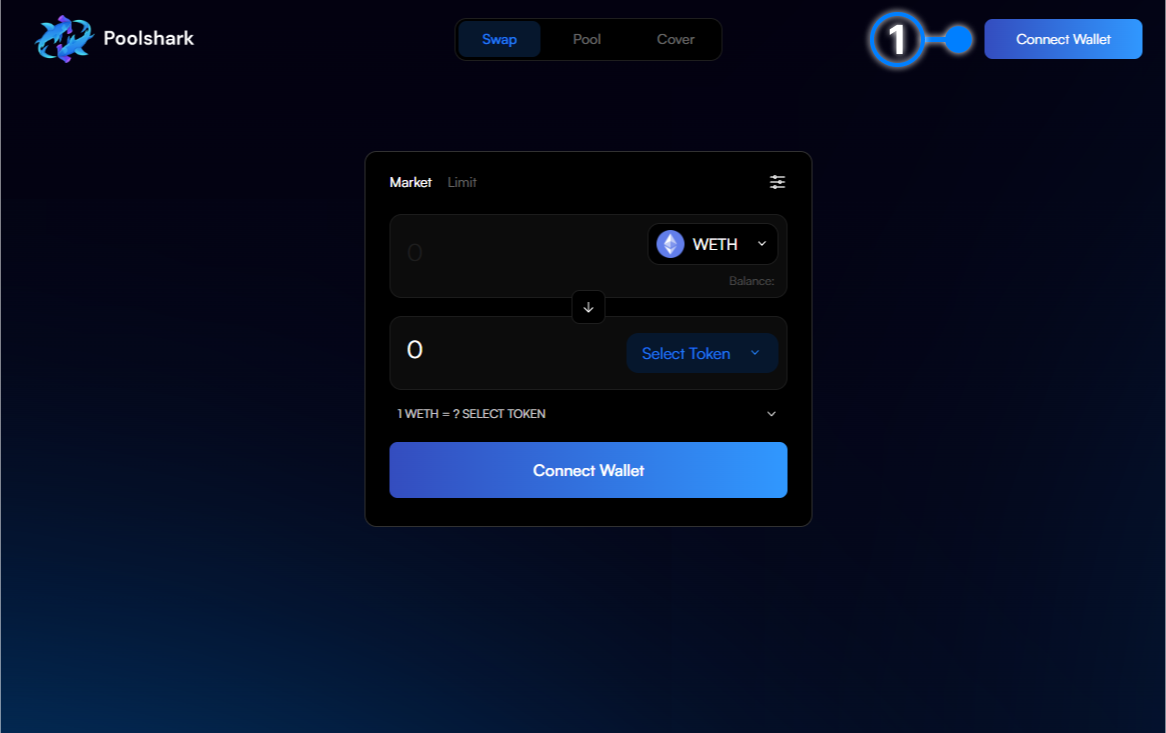
- 2. Connect your wallet through the widget.

- 3. Navigate to the “Cover” page.
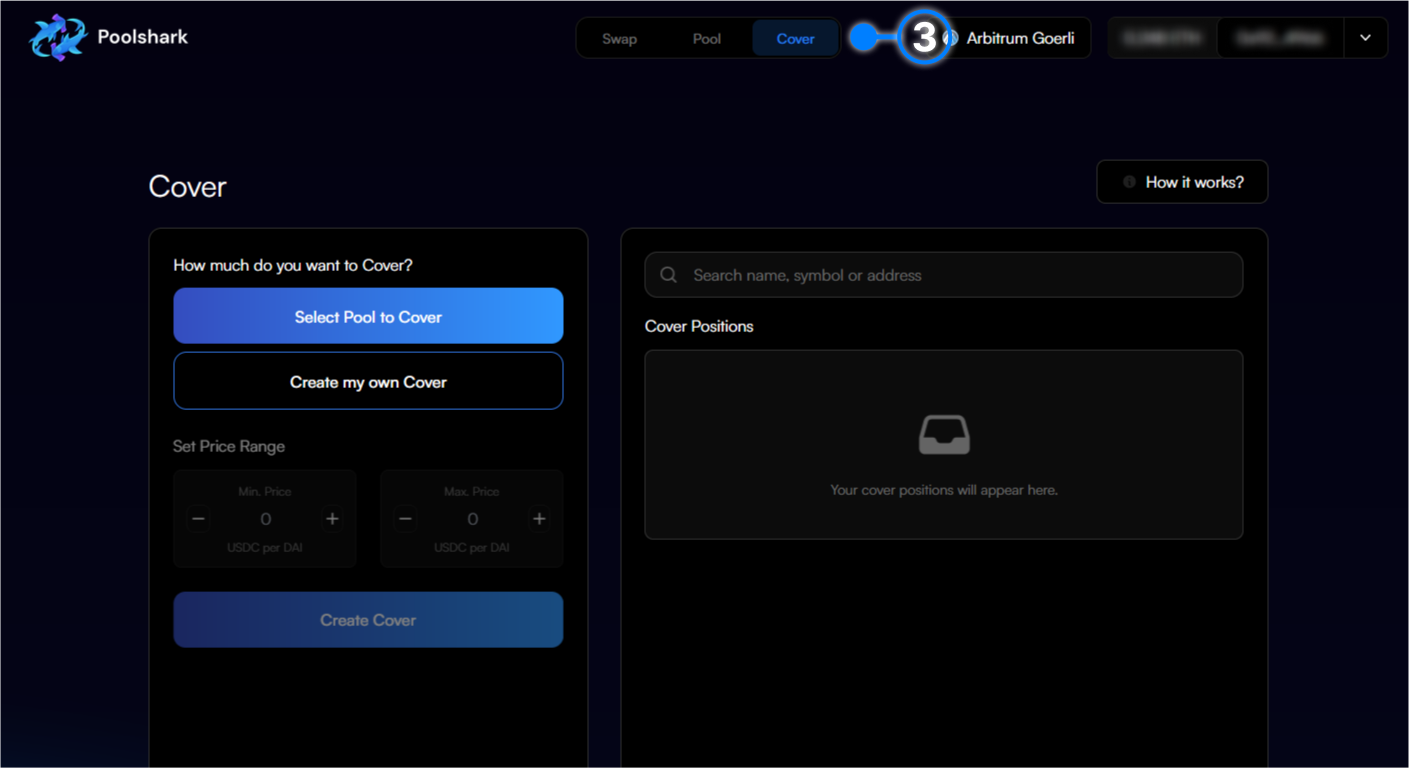
If you are looking to cover and existing range pool position please move to Select Pool to Cover otherwise scroll to Create and Independent Cover Position
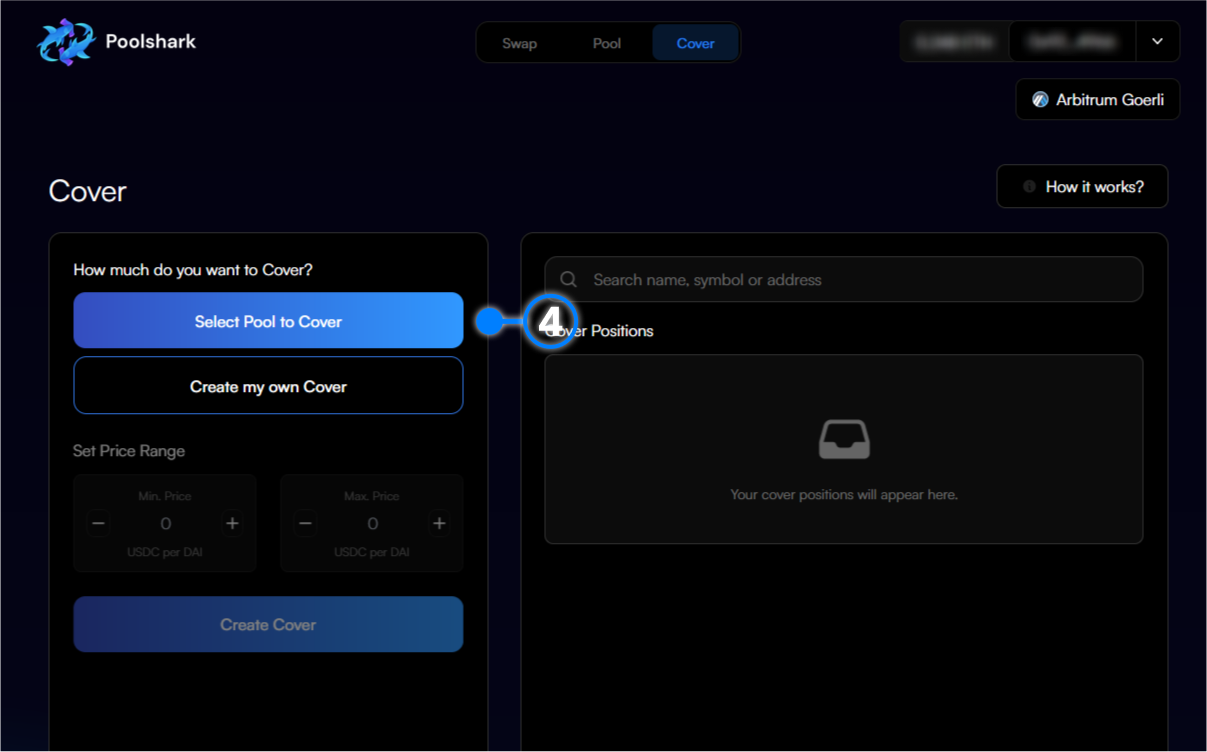
Select Pool to Cover
- 4. Click ‘ Select a Pool to Cover’.
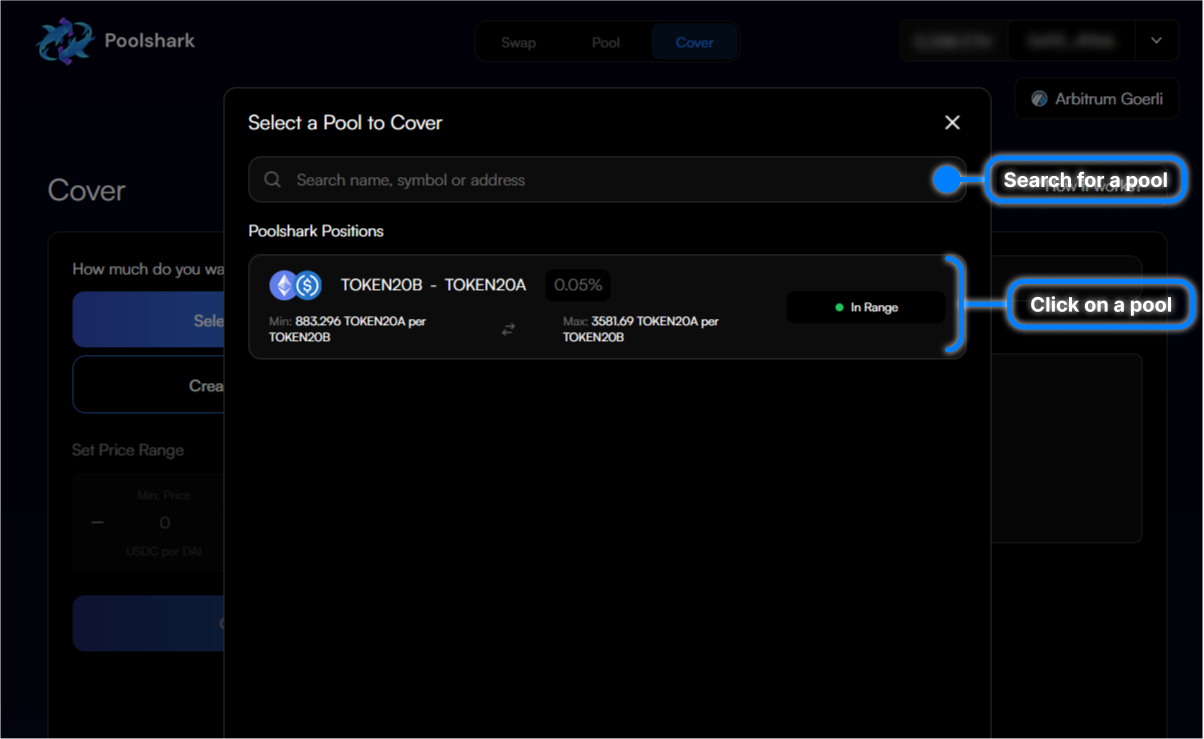
- 5. Select one of your existing concentrated liquidity positions.
-
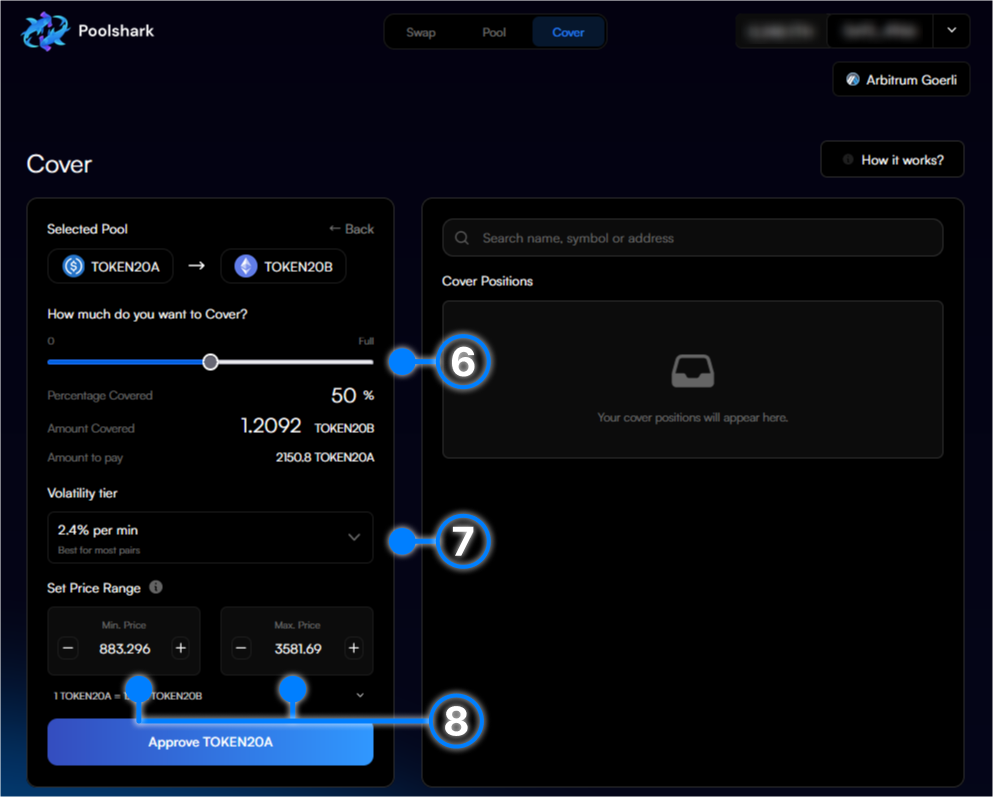
6. Choose the amount of your position to cover.
-
7. Select the volatility tier for your position (See Documentation for more info).
-
8. Choose the price range you wish to cover your liquidity over.
-
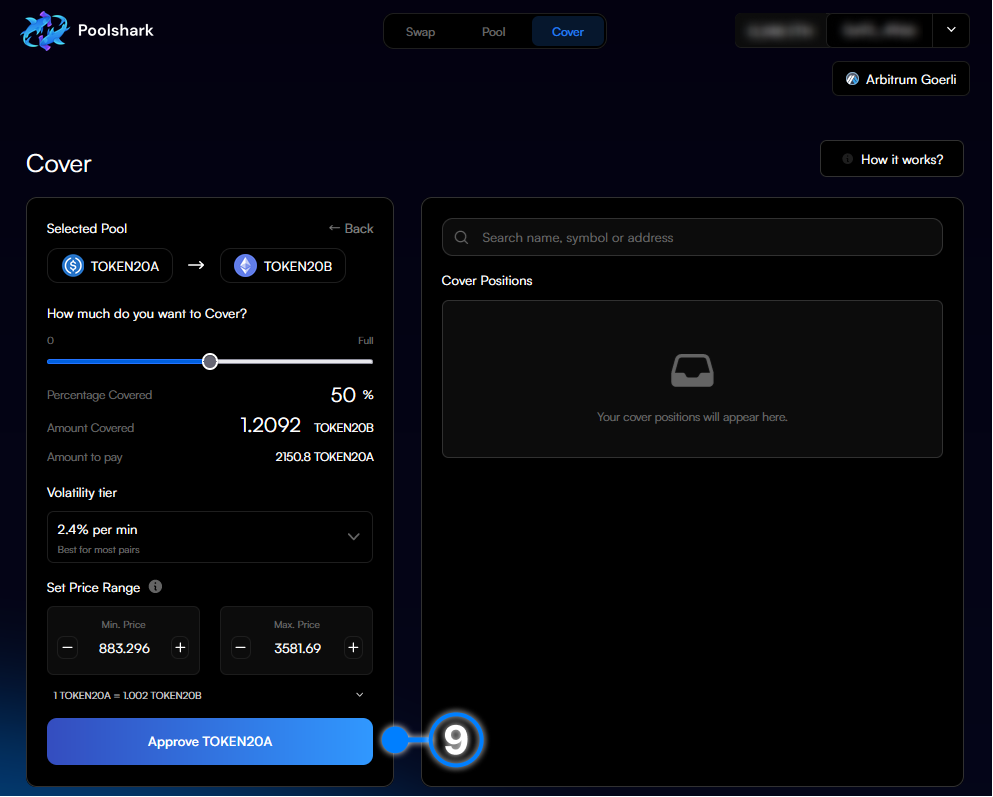
9. Finally, click “Approve” and approve the movement of your tokens.
-
10. You will receive an approval signature request in your wallet. Press ‘Confirm’ in your wallet to confirm the approval.
-
11. Wait for the approval transaction to confirm.
-
12. Click ‘Create Cover’ to create the position.
-
13. You will receive a create cover position signature request in your wallet. Press ‘Confirm’ in your wallet to confirm the swap.
-
14. Wait for the transaction to be confirmed and executed in the next block.
-
15. Congratulations you have just created your Cover position on Poolshark! Click the pop-up to view on Arbiscan.
Create an Independent Cover Position
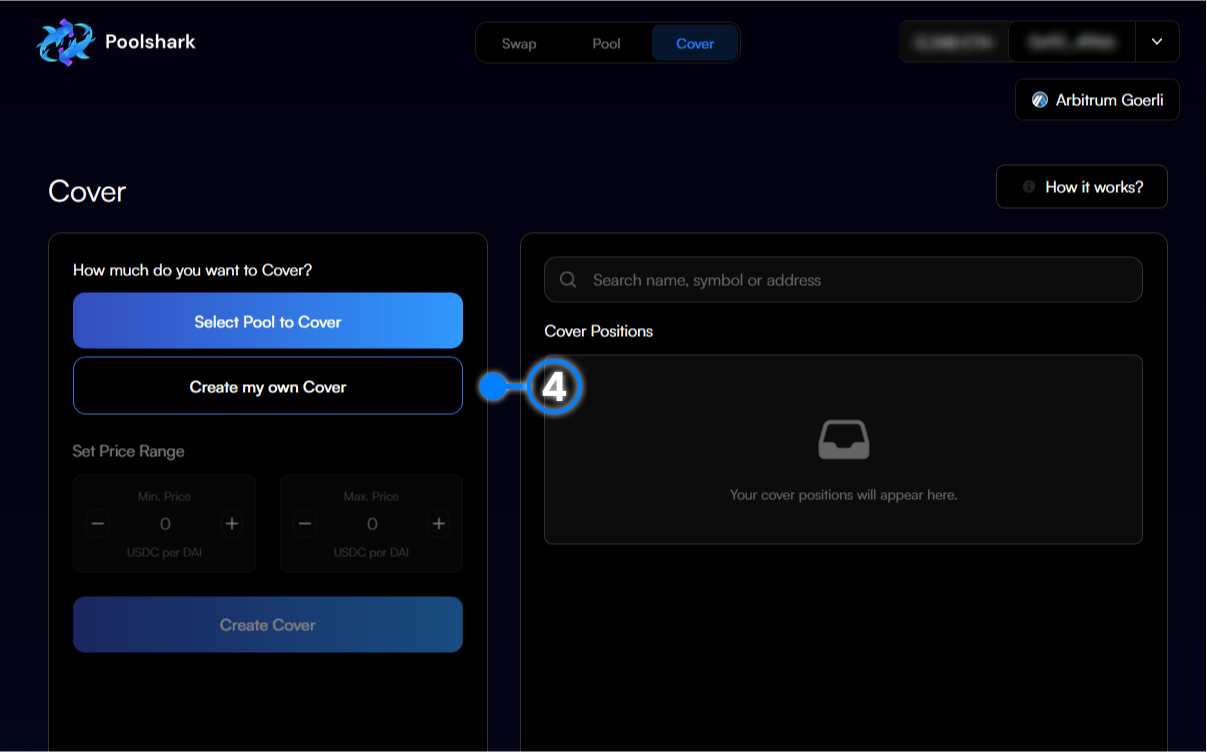
- 4. Select “Create my own Cover”.
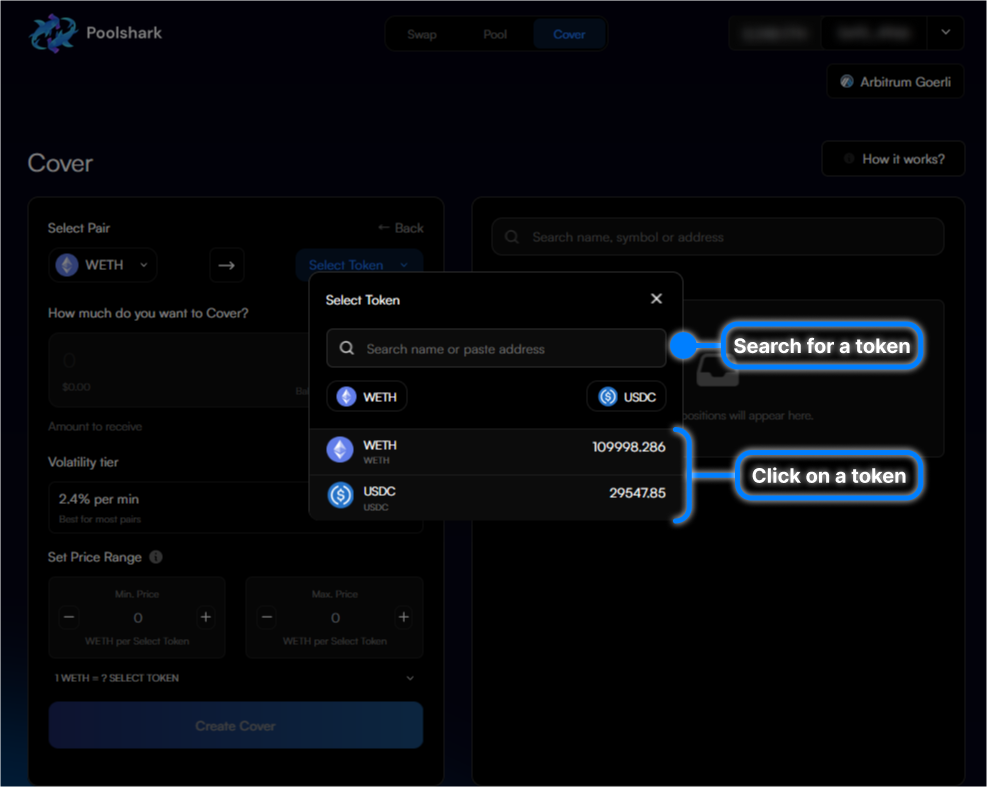
- 5. Select the input token that you currently have in your wallet by clicking on the drop down.
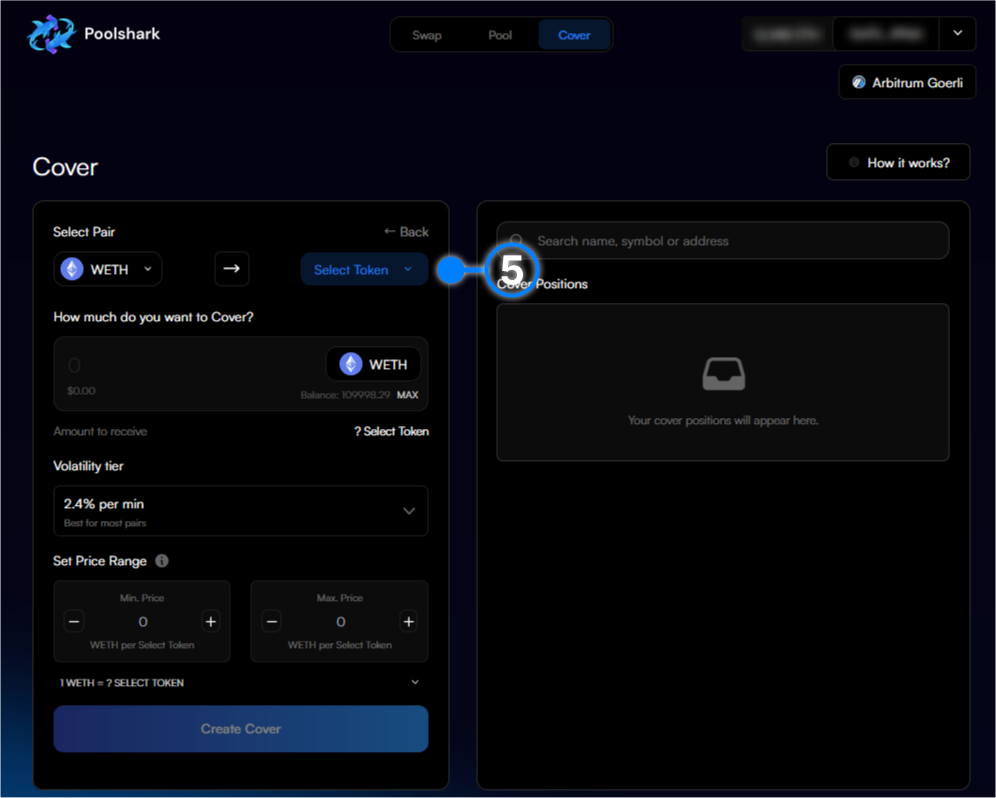
- 6. Search for the input token within the list by typing or scrolling and click on it.
-
7. Repeat steps 5 and 6 for the output token.
-
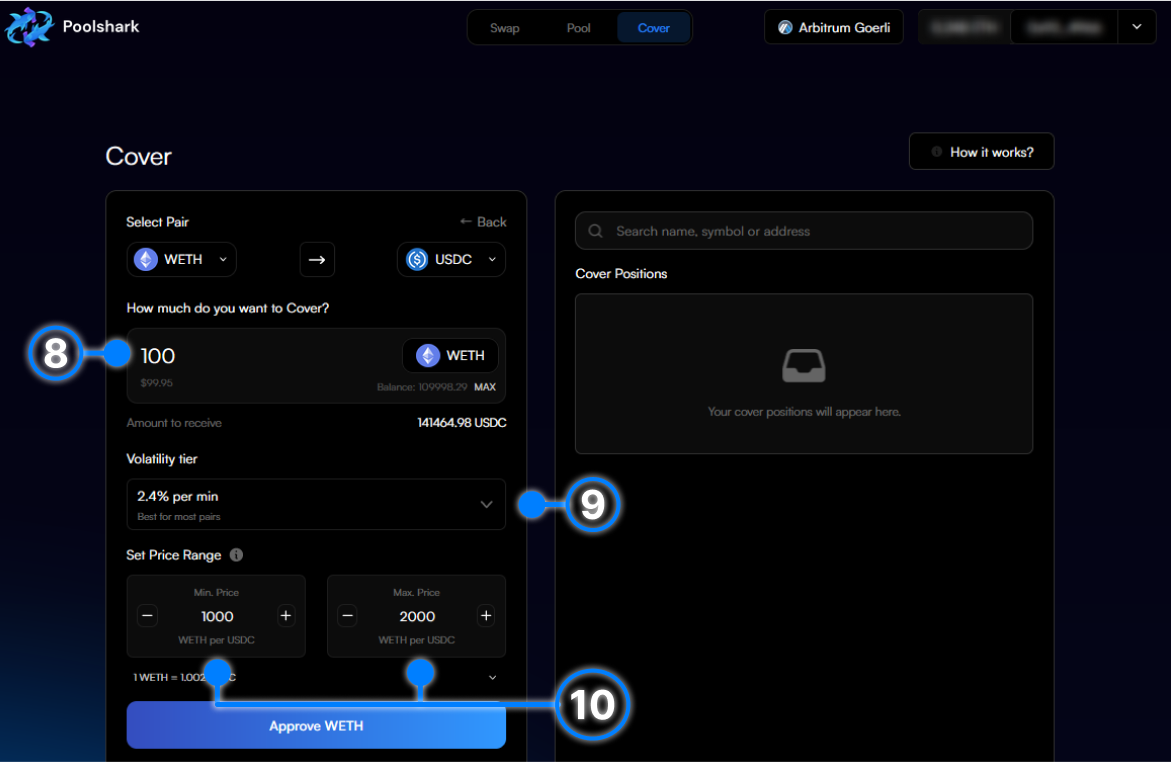
8. Choose the amount of your input token to cover.
-
9. Select the volatility tier for your position (link to volatility tier documentation).
-
10. Choose the price range you wish to cover your liquidity over.
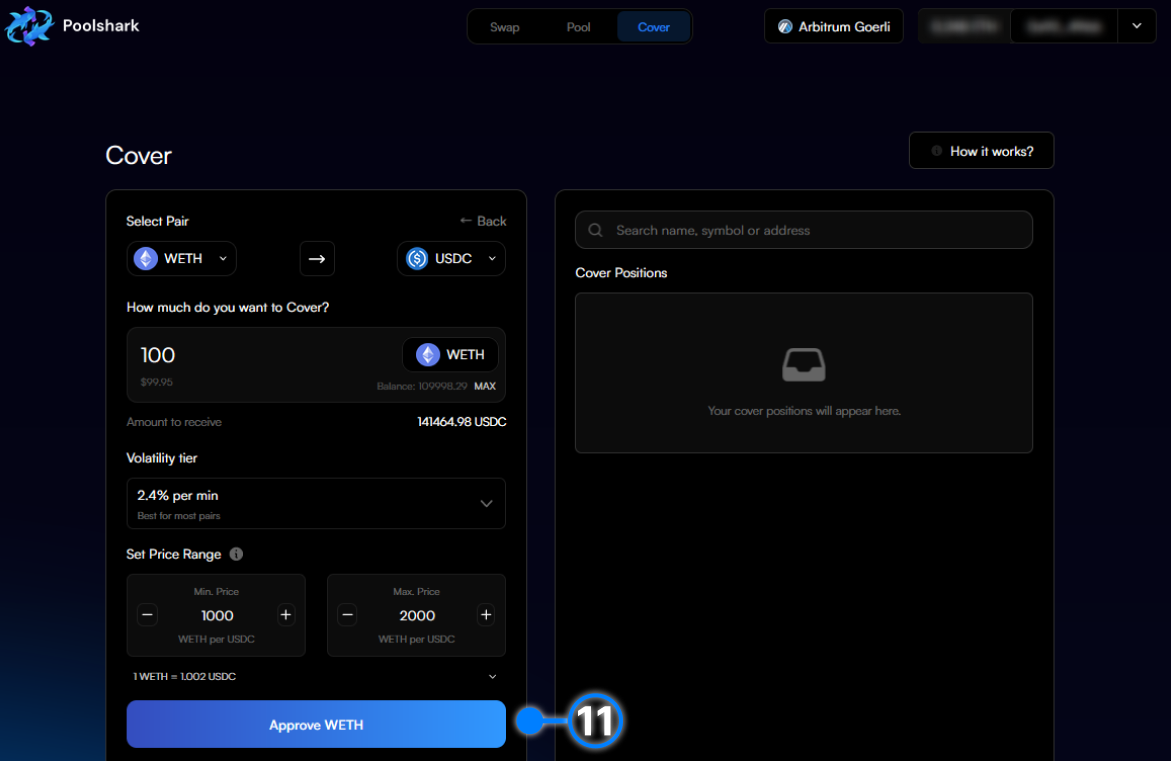
- 11. Finally, click “Approve” to approve the spend of your tokens.
-
12. You will receive an approval signature request in your wallet. Press ‘Confirm’ in your wallet to confirm the approval.
-
13. Wait for the approval transaction to confirm.
-
14. Click ‘Create Cover’ to create the position.
-
15. You will receive a create cover position signature request in your wallet. Press ‘Confirm’ in your wallet to confirm the swap.
-
16. Wait for the transaction to be confirmed and executed in the next block.
-
17. Congratulations you have just created your Cover position on Poolshark! Click the pop-up to view on Arbiscan.